Expert Orange Peel Ceiling Service Contractors in Wellington, FL
Contact Us

Did you know that there are several ways of making the walls and ceiling look more stunning? You can also create wonders and tricks on crucial parts by adding the desired textures. Do it yourself ceiling and walls can be easy for people who have the willingness to learn – therefore, are you ready?
While the walls and ceiling are some sections of the home, they play a very crucial role in improving the overall appearance of your home. Below are some guidelines on the way to create quality ceiling and wall textures.
Prepare the Necessitating Materials
First of all, you need to select from different textures ranging from thick, medium, and thick sets. You need to be sure to measure the walls and ceilings where you will be applying the textures. Buy the right supplies like the joint compound, trowel, a basin coming in the required size for you to mix the compound and primer. Utilize large plastic or paper sheets on the floor. They will catch the mess you are creating due to the texturing project. Remember taping edges of the paper or plastic sheets for them not to budge at the beginning of the task.
You can then remove stains from the walls and on the ceiling, ensuring that you are covering cracks with the help of tape. You can then go back to them later for texture.
Time to Start
Immediately after checking the things you have purchased and prepared for the process of texturing, you can start doing the job. Begin by rolling a primer that is water-based on the next process part. Wait for it to dry before moving to the next section of the process. While waiting for the primer to get dry, try experimenting on the scrap wood or cardboard texture type you want to get. Practicing strokes will minimize errors that can occur after starting to texture. Make sure that you achieve uniform texture all over the surface.

After the primer dries, dip your trowel inside the bucket and then apply this compound on the walls and ceilings. Remember stroke types you carried out on the surface of the cardboard. Make sure that you evenly spread the compound. Repeat your strokes by use of the fanning movement. As you continue adding pressure, it is good to remember that the texture will grow thinner. The lighter the hand, the heavier the texture; make sure that you are using a similar procedure in the covered area to get a uniform look.
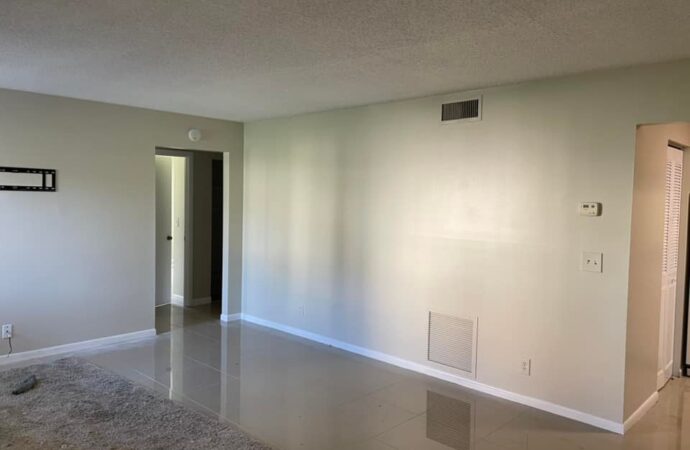
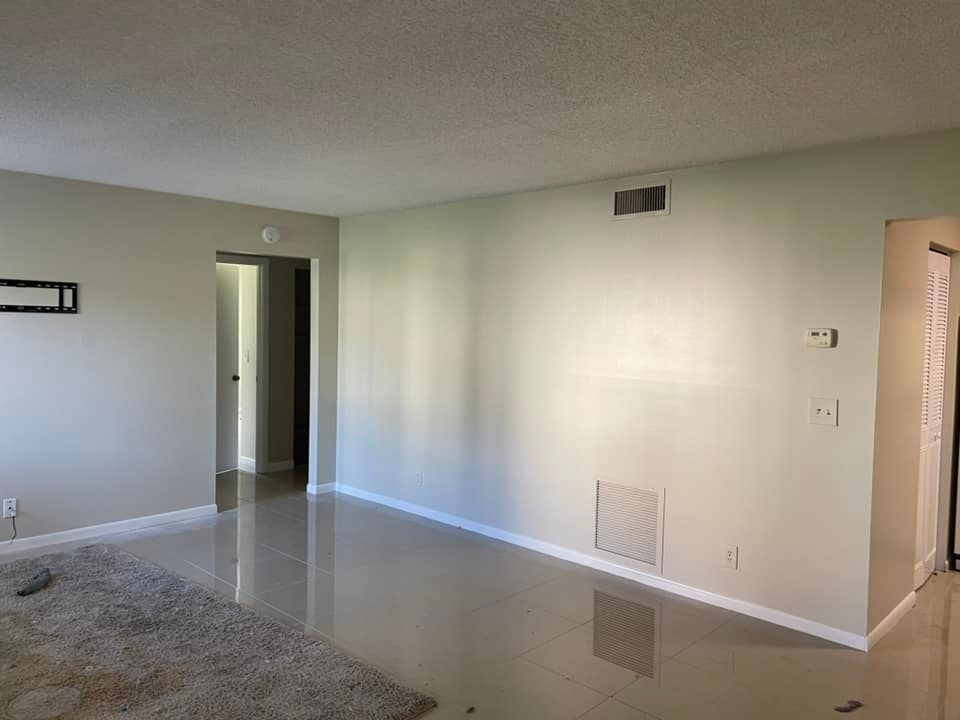
Apply the paint after the texture dries completely. You will have the ability to tell when ready as it will be chalky. Orange peel ceilings procedure will be the best when texturing. The process of orange peel involves spraying the thinned drywall compound to ceilings and walls. You will achieve a rough texture that looks like the orange peel.
You can achieve the skip trowel process by spraying the thinned drywall compound on the clean surface. Immediately the spots get stuck; you will make them fine by flattening the tops of big spots. The whole process will bring a small, smooth, and flat area to the texture.
Did you know that there are so many ways of making interior walls and ceilings in the home look beautiful and sparkling? You can do so many tricks and wonders to these parts of the house by applying the right textures, and they will look perfect.
While orange peel ceilings and walls are parts of the home, their appearance and feature also add up to the overall appeal and attraction of the house. The guide below will help you make a high-quality wall and ceiling texture that may transform the traditional house into a classy and ordinary one. To begin with, prepare the following;
- Choose from various textures that range from thin, medium, to thick sets
- Get the wall or ceiling measurement that you would like to texture
- Purchase sufficient texture supplies like the joint compound, a basin, and a trowel, with the desired size to mix the primer and compound.
- Utilize large paper or plastic sheets on the floor for holding the mess, and tape its edges to make them seem firm
- Eliminate the stains in the walls or ceiling and cover big cracks with tape so that you texture them later
Locations We Serve
We offer the above services at the following locations within Wellington:
Additional HOAs We Service
If you are located in Palm Beach County and you don’t see your city/area listed above, don’t worry! We cover all of Palm Beach County. Fill out the contact form above or CLICK HERE and send us a message. We’ll get back to you asap!
Here is a list of our services you can get at Wellington Pro Painters & Popcorn Removal:
-
Commercial Painting Near Me
-
Commercial Popcorn Removal Near Me
-
Drywall Repair Near Me
-
Drywall Installation Near Me
-
Knockdown Texture Near Me
-
Orange Peel Ceilings Near Me
-
Residential Painting Near Me
-
Residential Popcorn Removal Near Me
-
Smooth Ceiling Finish Near Me
-
Commercial Painting Services
-
Commercial Popcorn Removal Services
-
Drywall Repair Services
-
Drywall Installation Services
-
Knockdown Texture Services
-
Orange Peel Ceilings Services
-
Residential Painting Services
-
Residential Popcorn Removal Services
-
Smooth Ceiling Finish Services
-
Commercial Stucco Installation Near Me
-
Complete EIFS Reinstallation Near Me
-
Custom Stucco and Texturing Near Me
-
Denglass Framing Near Me
-
EIFS Inspection Near Me
-
EIFS Installation Near Me
-
EIFS Wall Systems Near Me
-
Exterior Kitchen Stucco Near Me
-
New Construction Stucco Near Me
-
Stucco Application Near Me
-
Commercial Stucco Installation Services
-
Complete EIFS Reinstallation Services
-
Custom Stucco and Texturing Services
-
Denglass Framing Services
-
EIFS Inspection Services
-
EIFS Installation Services
-
EIFS Wall Systems Services
-
Exterior Kitchen Stucco Services
-
New Construction Stucco Services
-
Stucco Application Services

